Add external hard disk to Plex Media Library (on PMS)
Expand your Plex Media Server by adding an external hard disk to your Raspberry Pi. This guide walks you through mounting the HDD, setting up permissions, and configuring Plex to browse your media files. Ideal for creating a scalable media library without relying on SD card storage!
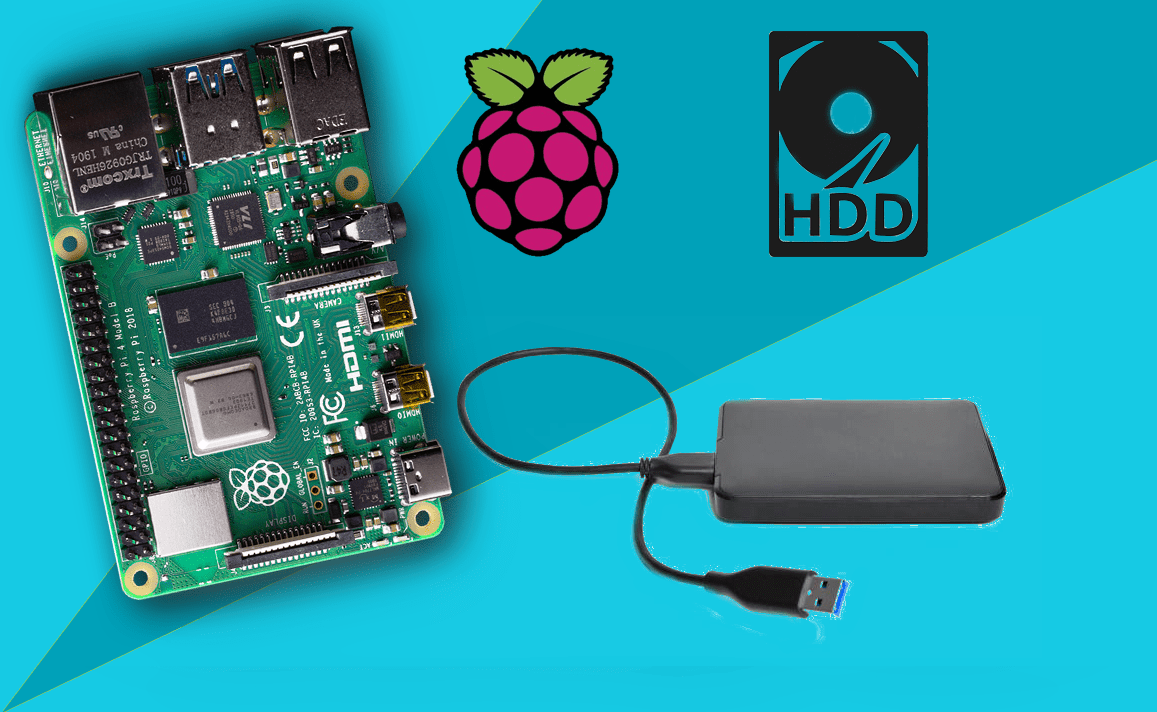
Assuming that you have already installed PMS on you raspberry pi or whatever little Linux computer you are using, next obvious thing would be to add storage. Most SBCs (single board computer) run the OS from an sd card and those are not ideal for storing large media libraries. This article will cover how to add an external HDD to you raspberry pi and allow PMS to browse the hard disk for media files.
Create media directory
By default Linux does not allow applications shuch as Plex Medis Servicer to manage an external HDD.
First we need to create a directory where we want the meadi to be found, we want this directory to have read/write access so that PMS can read the files in it, and write to it if necersarry, for example when deleting media.
Run all the following commands:
sudo mkdir /disks
sudo mkdir /disks/plexmedia
sudo chown -R pi:pi /disks
sudo chmod -R 755 /disks
You should now have a directory /disks/plexmedia with the correct permission for the pi user. To check that this is true win command:
ls -la /disks
Which should output something like this:
total <X>
drwxr-xr-x  3 pi   pi   4096 Aug 21 22:22 .
drwxr-xr-x 22 root root 4096 Aug 21 22:22 ..
Connect your hard disk
First connect your external hard disk to the raspberry pi, if you are using a pi 4 make sure to plug the USB cable into the blue ports, those are USB 3.0 and will transfer and read much faster. After connecting wait a few seconds to make sure Linux registers the new dives. Then run command:
sudo fdisk -l
This will list the disks and partitions, also the ones on your sd card. Try to find your harddrive in the list. Mine looks like this:
Device      Start         End     Sectors  Size Type
/dev/sda1      34      262177      262144  128M Microsoft reserved
/dev/sda2  264192 11721043967 11720779776  5.5T Microsoft basic data
So the "/dev/sda2" is what I am interested in configuring since this is the partition on my external hard disk with 5.5TB storage, this is where I will be placing all my media files and where I want Plex to read them from.
Next we need to mount this disk:
sudo mount /dev/sda2 /media
If this gives you an error, your disk might be in have been formatted to another file system. Try to run the command again with the "type ntfs" option:
sudo mount /dev/sda2 /media -t ntfs
If this also doesn't work, you should format the disk entirely to the ntfs file system, then it should work. I will not go into details how to do this, there should be plenty of guides if you google.
After mounting we need to gather some information about the disk. Use the blkid command:
sudo blkid <your disk>
In my case my disk was "/dev/sda2", so my command looks like this:
sudo blkid /dev/sda2
The out put you get should be similar to this below. We are interested in the disks UUID in my case "B83A843F7A83PHPH"
/dev/sda2: LABEL="Seagate Backup Plus Drive" UUID="B83A843F7A83PHPH" TYPE="ntfs" PTTYPE="atari" PARTLABEL="Basic data partition" PARTUUID="0add94c9-XXXX-4ed8-XXXX-d0a6398945a1"
Point mounted disk to the media directory
sudo nano /etc/fstab
add line:
UUID=B83A843F7A83PHPH /disks/plexmedia ntfs defaults,auto,rw,nofail 0 1
(Replace "B83A843F7A83PHPH" with the UUID of your disk when adding the line)
Save and exit.
Now unmount media and mount plexmedia
sudo umount /media/
sudo mount /disks/plexmedia/
Now the disk of your UUID should be pointed to the /disks&plexmedia directory, which we have set read/write pemissions for the pi user for. This should mean that you can now browse your external HDD from with PMS. 🎉
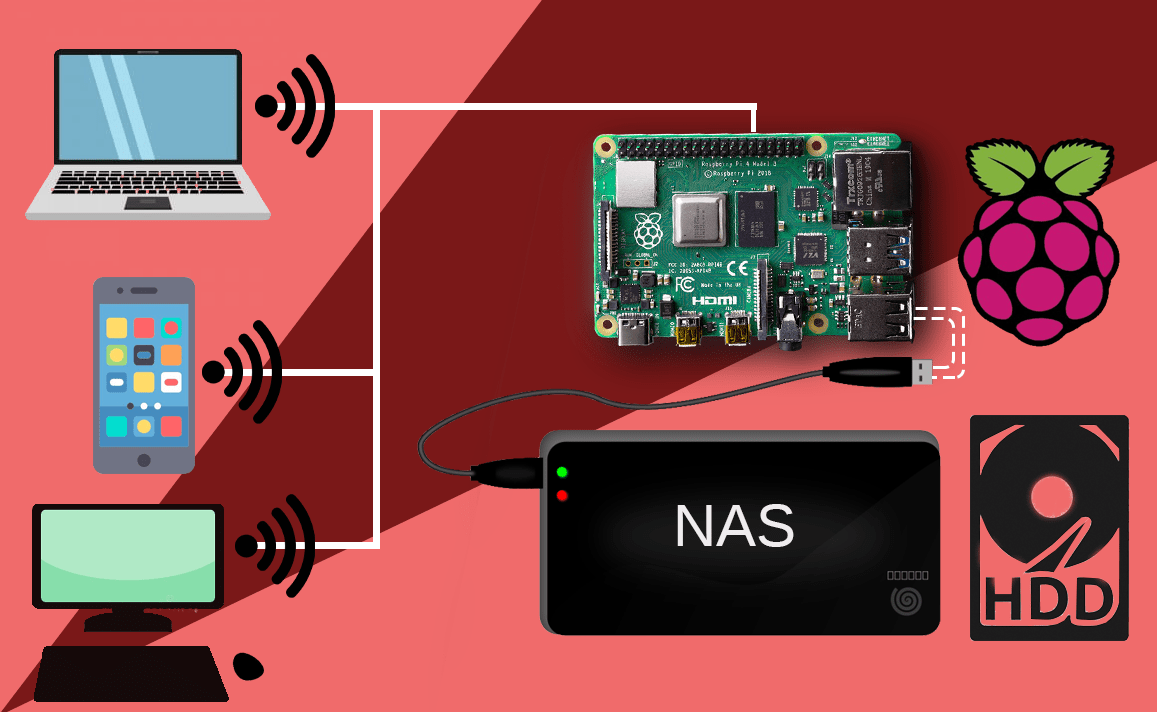
The next article will cover how you can send files to this "plexmedia" directory from all of you other devices over WiFi, and basically use it as a NAS (Network Attached Storage)
 Rasmus Puls