Turn Raspberry Pi + external HDD into NAS
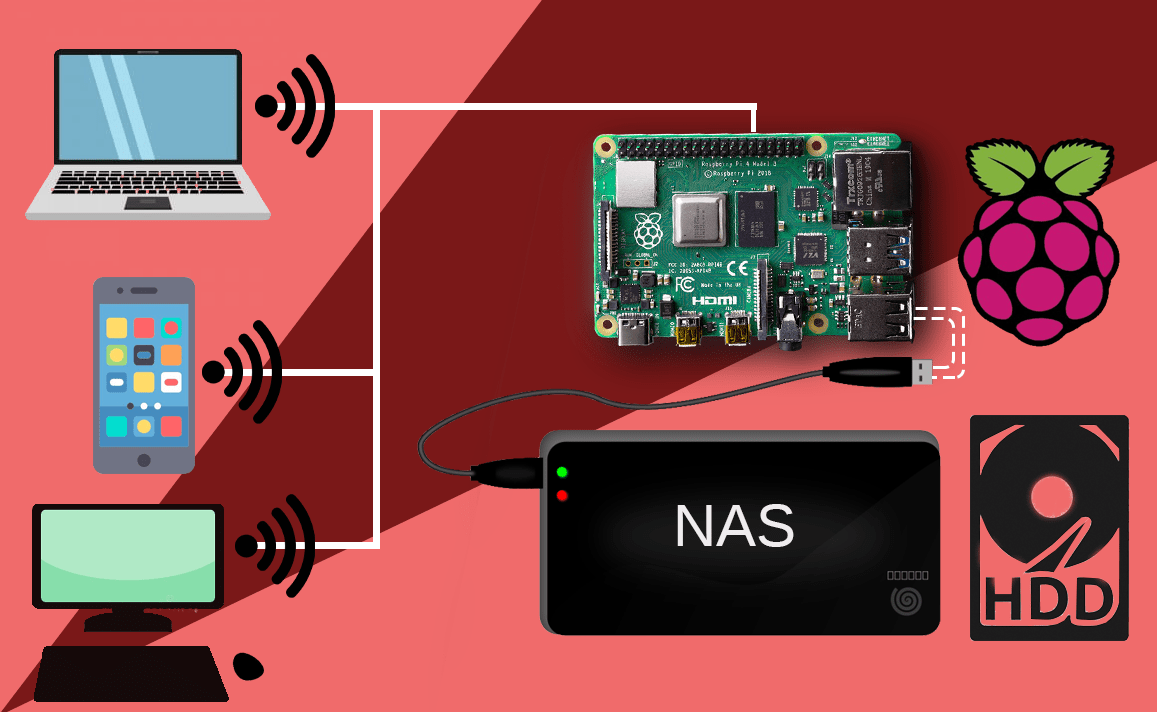
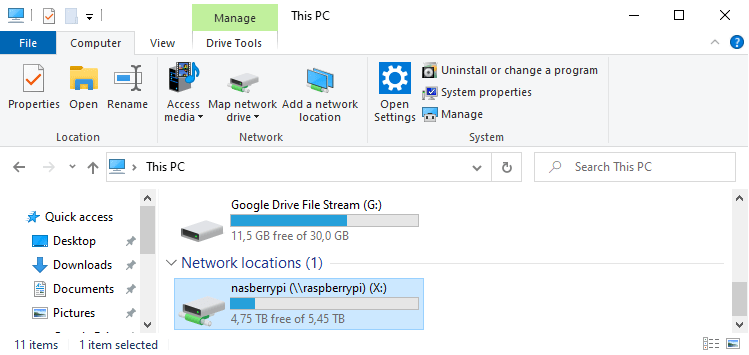
This guide will help you setting up a network drive so that you can access your external HDD from all of your devices over WiFi. NAS is short for "Network Attached Storage" - let's attach your HDD to your home network!
OBS: If you came here after installing PMS, you can skip the apt-get update && apt-get upgrade. But if you are just here for the NAS setup we will need to be up to date.
sudo apt-get update
sudo apt-get upgrade -y
Next install samba
sudo apt-get install samba samba-common-bin
Now let's configure samba to expose your external HDD as a network drive
sudo nano /etc/samba/smb.conf
In the nano editor add the following:
[nasberrypi]
path = /disks/plexmedia
writeable=Yes
create mask=0777
directory mask=0777
public=no
Leave everything else as is, save and exit. I like to call my network drive "nasberrypi" but feel free to use another name. If the directory/hdd that you want to expose is not in "/disks/plexmedia" please change the path to your desired location.
You need to set a password for samba by using the command:
sudo smbpasswd -a pi
It will ask you for a password and a confirmational retype.
Add network drive to your windows machine
Let's add your network drive to This PC as if it was just another physical HDD in your computer.
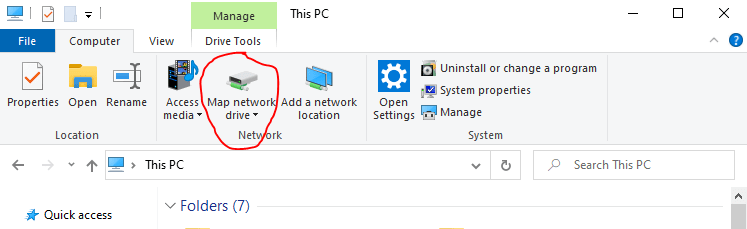
This PC -> Map network drive -> Map network drive
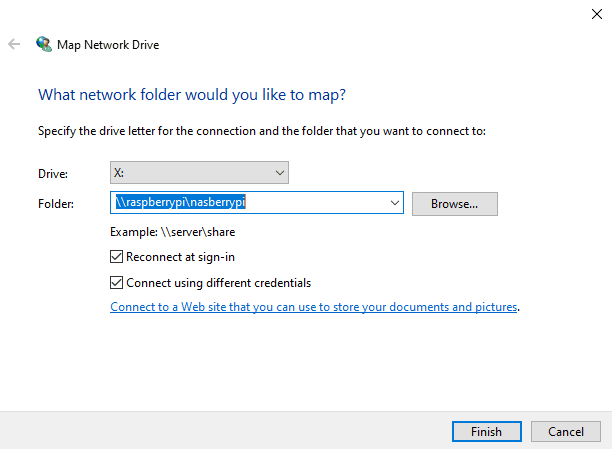
In the setup wizard choose a Drive letter, for example "X:"
In the Folder input you need to write "\\<server name>\<samba name>" following my example it should be: \\raspberrypi\nasberrypi
Tick both check boxes and hit Finish.
Windows will ask for a password, enter the one you chose just a minute earlier and click OK.