Tutorial: Personalize your medusajs webshop (storefront)
This tutorial is part II of the medusa on railway series, where we will be customizing your medusajs webshop! If you didn't already complete step I please do so, in order to proceed with this part of the tutorial.
OBS: Change at Railway! Please note that some information in the video is out of date - if you deployed your template later than 22th March. Scroll down to "updated extra steps".
Video guide
Link to part I
 Rasmus Puls
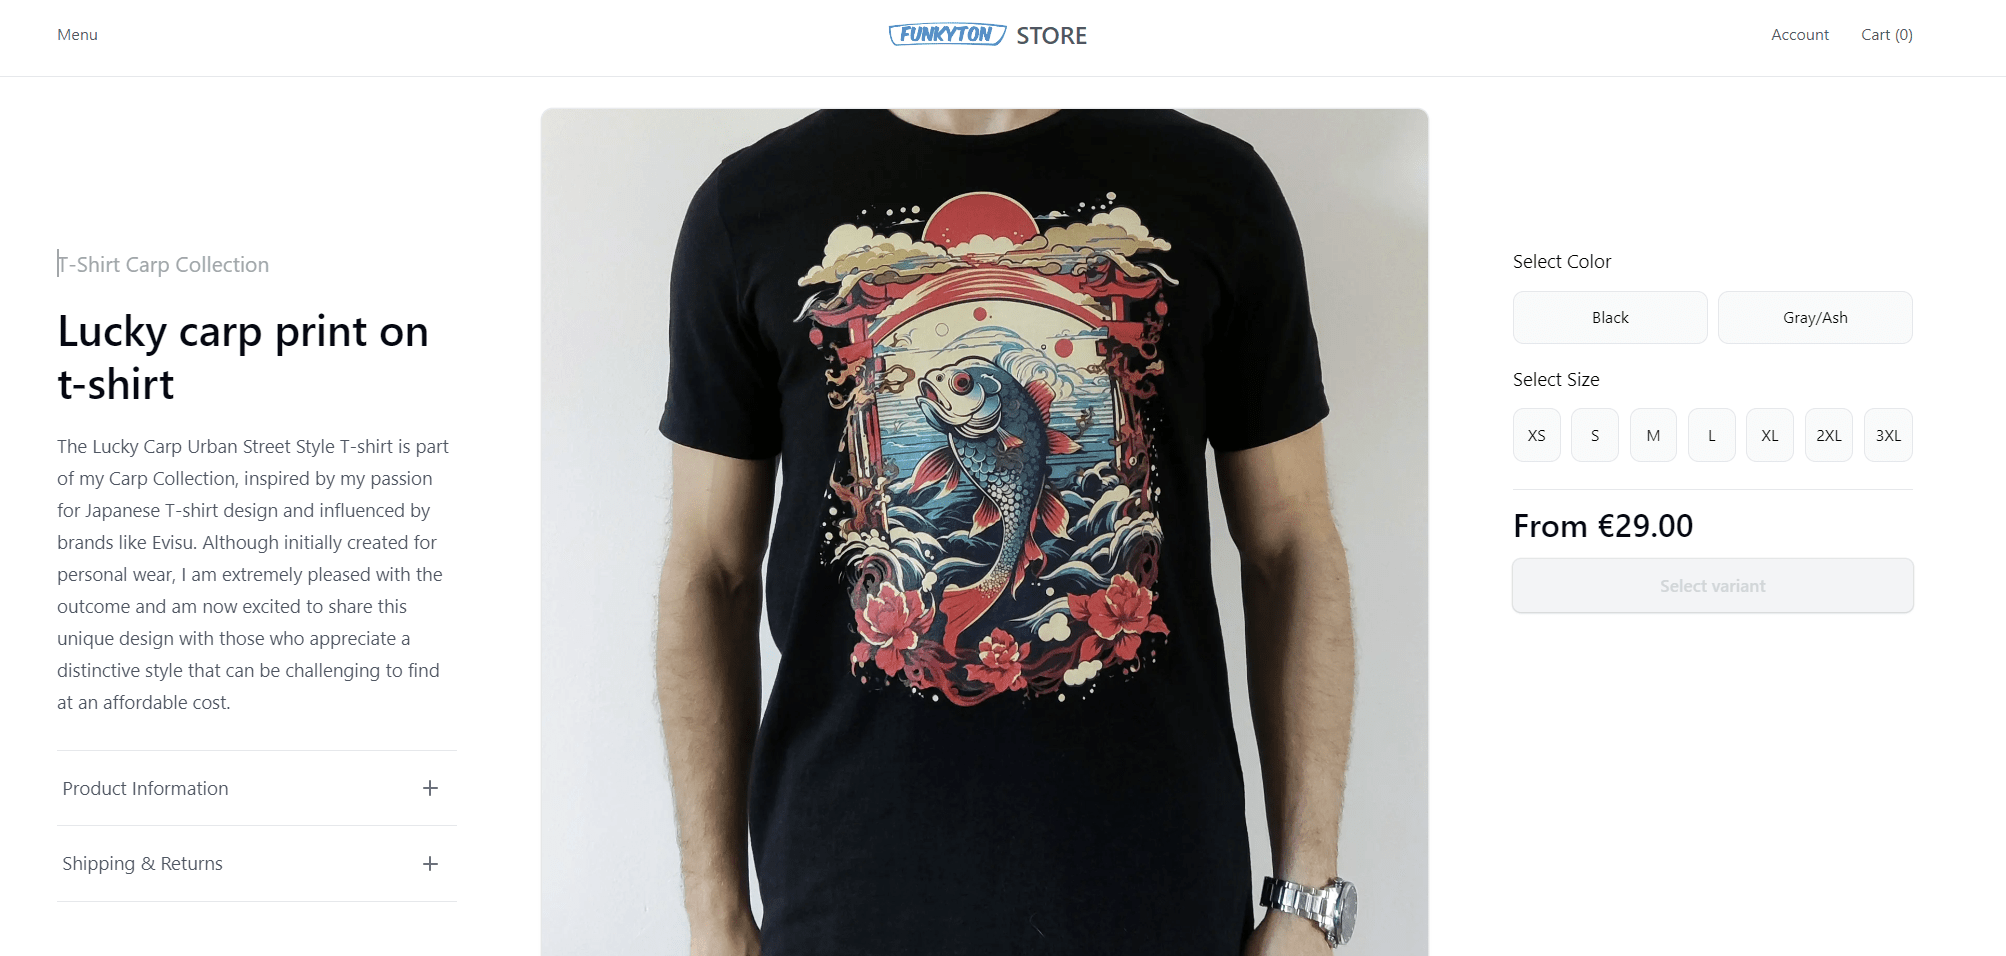
Requirements
Until now, everything has been done in your browser, but that is about to change. To make changes to your webshop, you will need some web development tools. If you already have these tools, please scroll past this step. If you have never heard of any of these tools, you're in for a challenge, as this will get quite technical.
- Git: A command-line tool necessary for pushing your updates to the build pipeline. You can download Git from Git's official website. Choose the version compatible with your operating system and follow the installation instructions.
- Visual Studio Code (VS Code): VS Code is a lightweight, yet powerful and free code editor developed by Microsoft. Download it from the official Visual Studio Code website. Select the version for your operating system.
- Node.js: Node.js is a runtime environment that allows you to run JavaScript on the server side. It's required to execute the JavaScript code you'll be working with. Visit the official Node.js website to download. It is recommended to download the LTS (Long Term Support) version for better stability.
Updated extra steps to facilitate chages at railway.
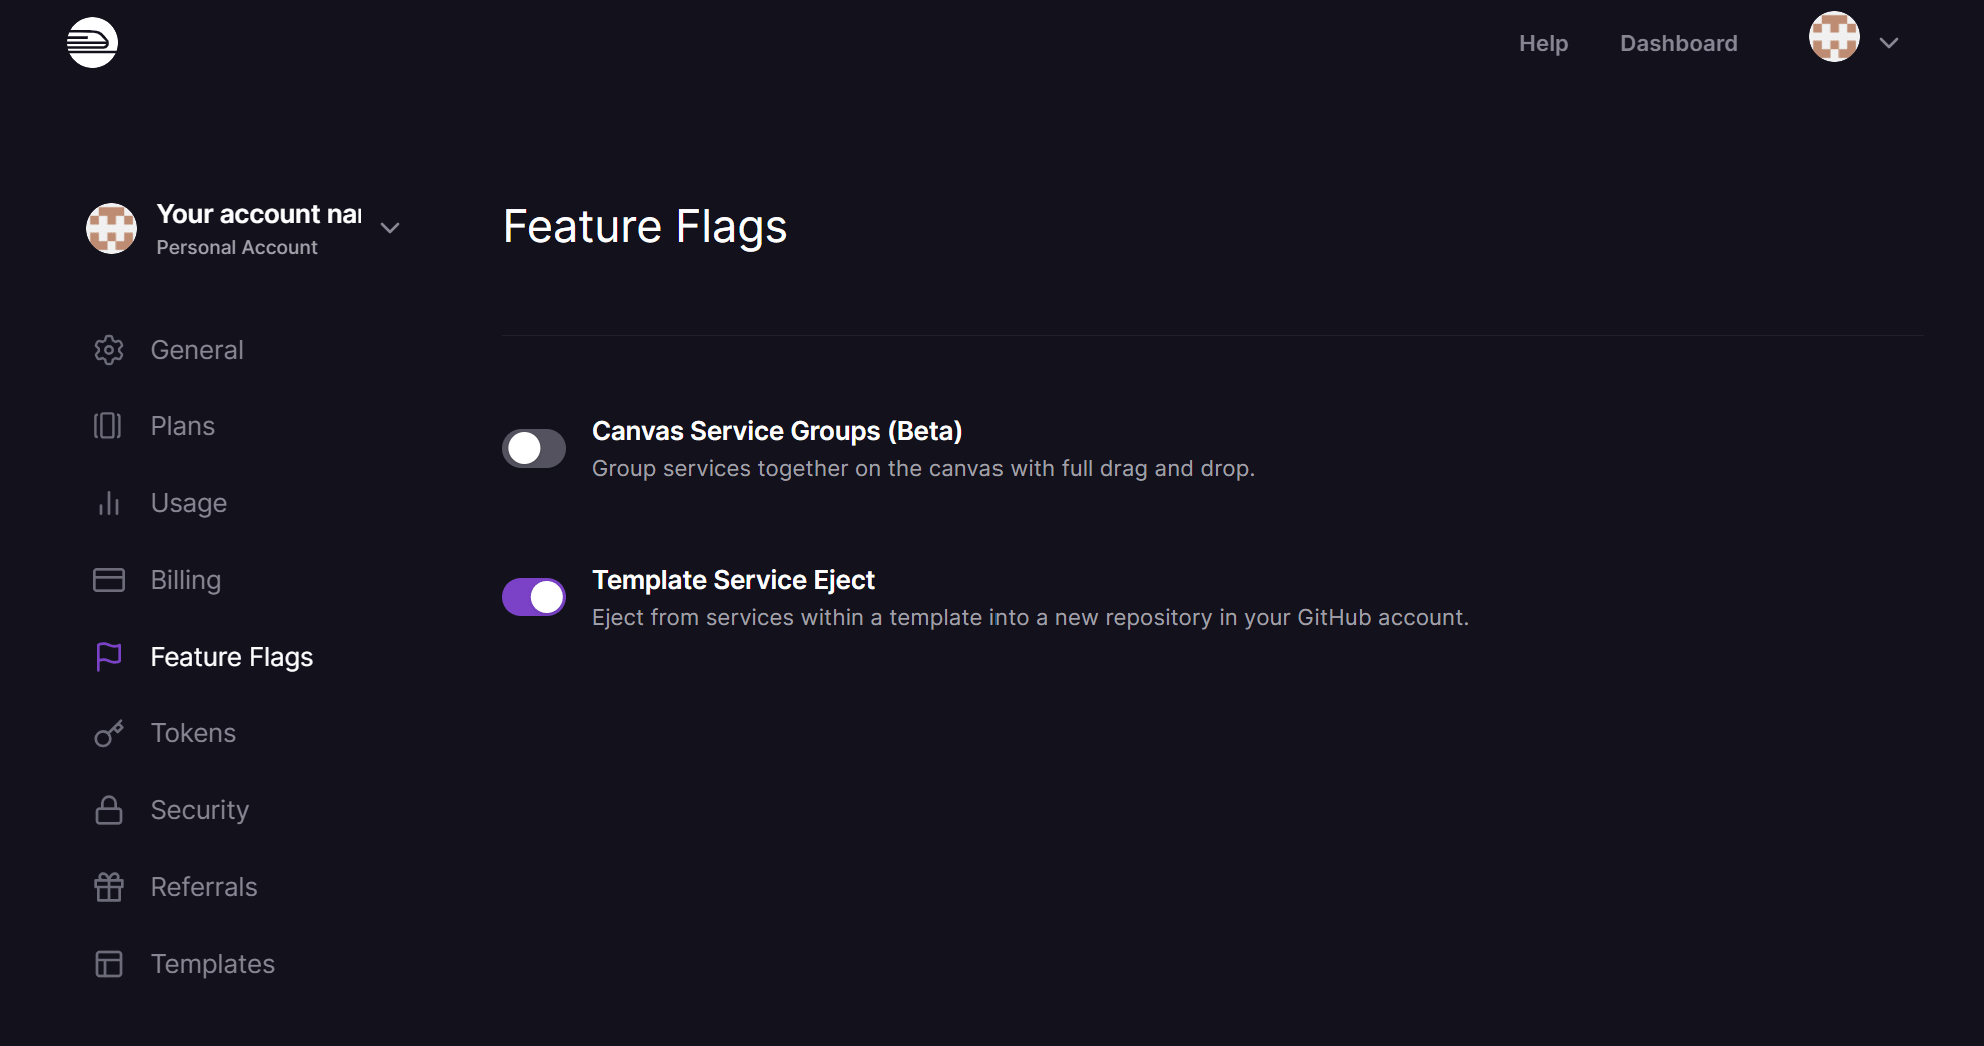
As mentioned above, there have been some changes at railway. When launching the template, you are no longer asked to name your own repository. Instead your railway project points directly to the upstream boilerplate repo. To make customizatinos to the code, you first have to "eject" from the source repo. This feature is hidden as of right now. Watch how do eject ⬇️
Link to your account setting with feature flag: https://railway.app/account/feature-flags
Now, head back to your project, select the frontend container -> settings -> Upstream repo. Click "eject" - this will clone the repo to your github.
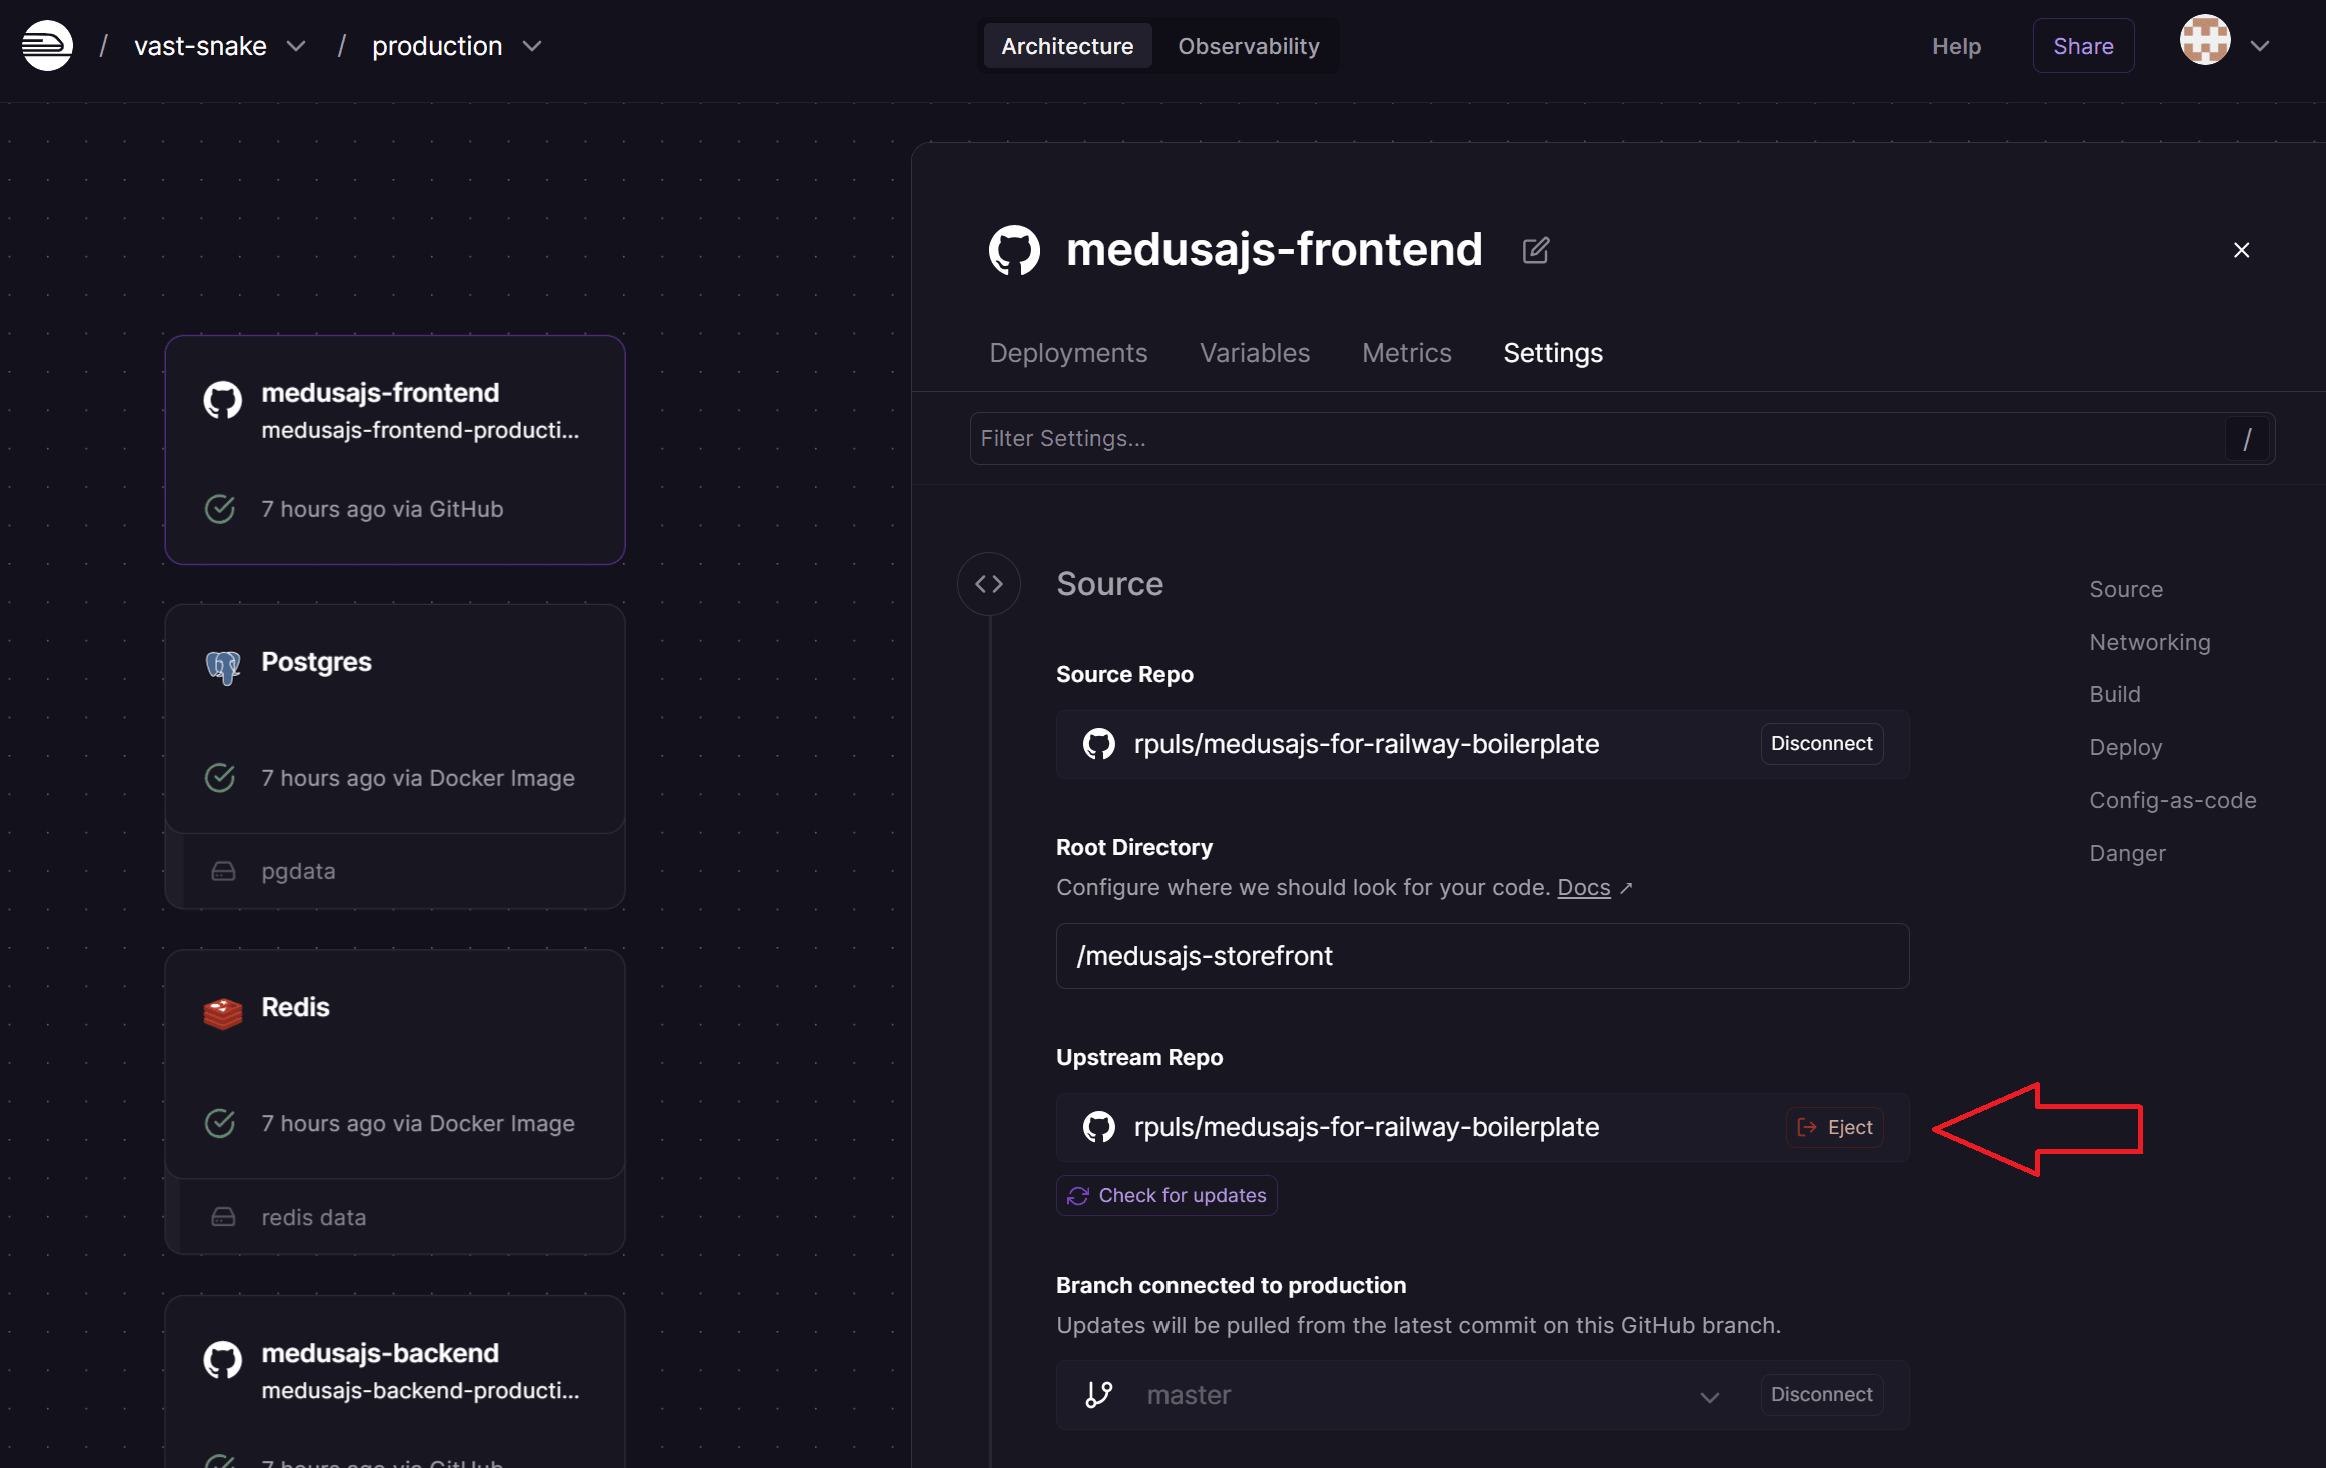
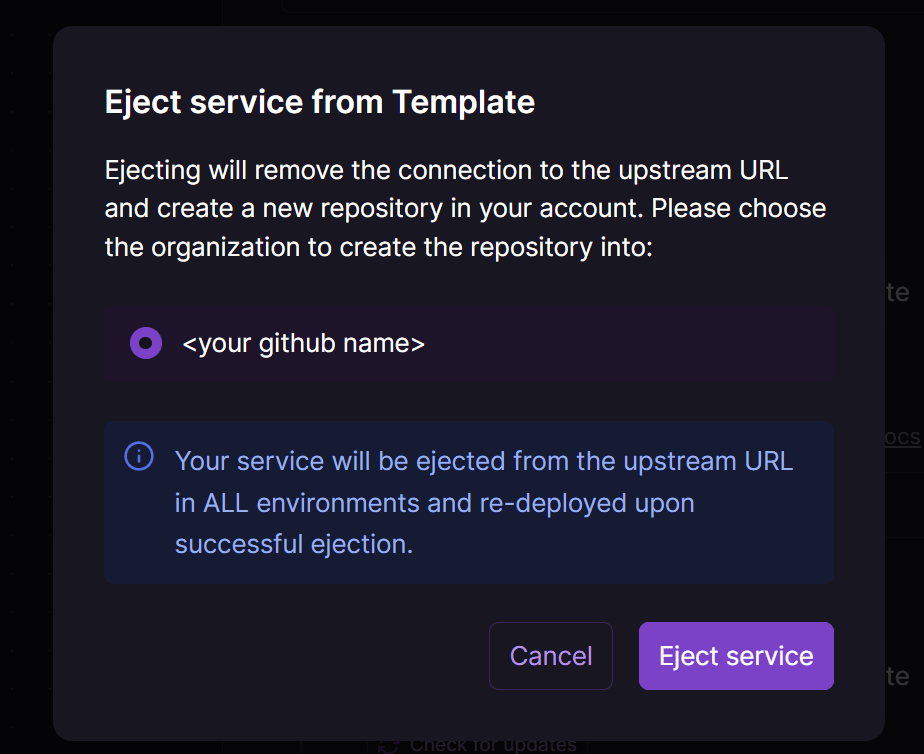
Sadly the cloned repository will be given a random name and is not private! But I have a feeling Railway might address this in the near future.
Now, you should be aligned with templates that were deployed prior to this change - and you should be able to proceed with the tutorial, cloning your repo to your local machine, make code changes and push them to start the buildpipeline.
Sadly, this new system does not facilitate monorepositories yet - so if you need to make changes to the backend, like adding a payment plugin or mail service plugin. You need to also eject the backend app, and it will clone it into another git repository, as it currently doesn't detect monorepositories. I surely hope railway will change this as well.
Step 1: Clone repository to your local machine
To locate your repo, select one of the app containers (frontend or backen), selected settings from the tabs in the view on the right. Scroll down to Source repo and click on it.
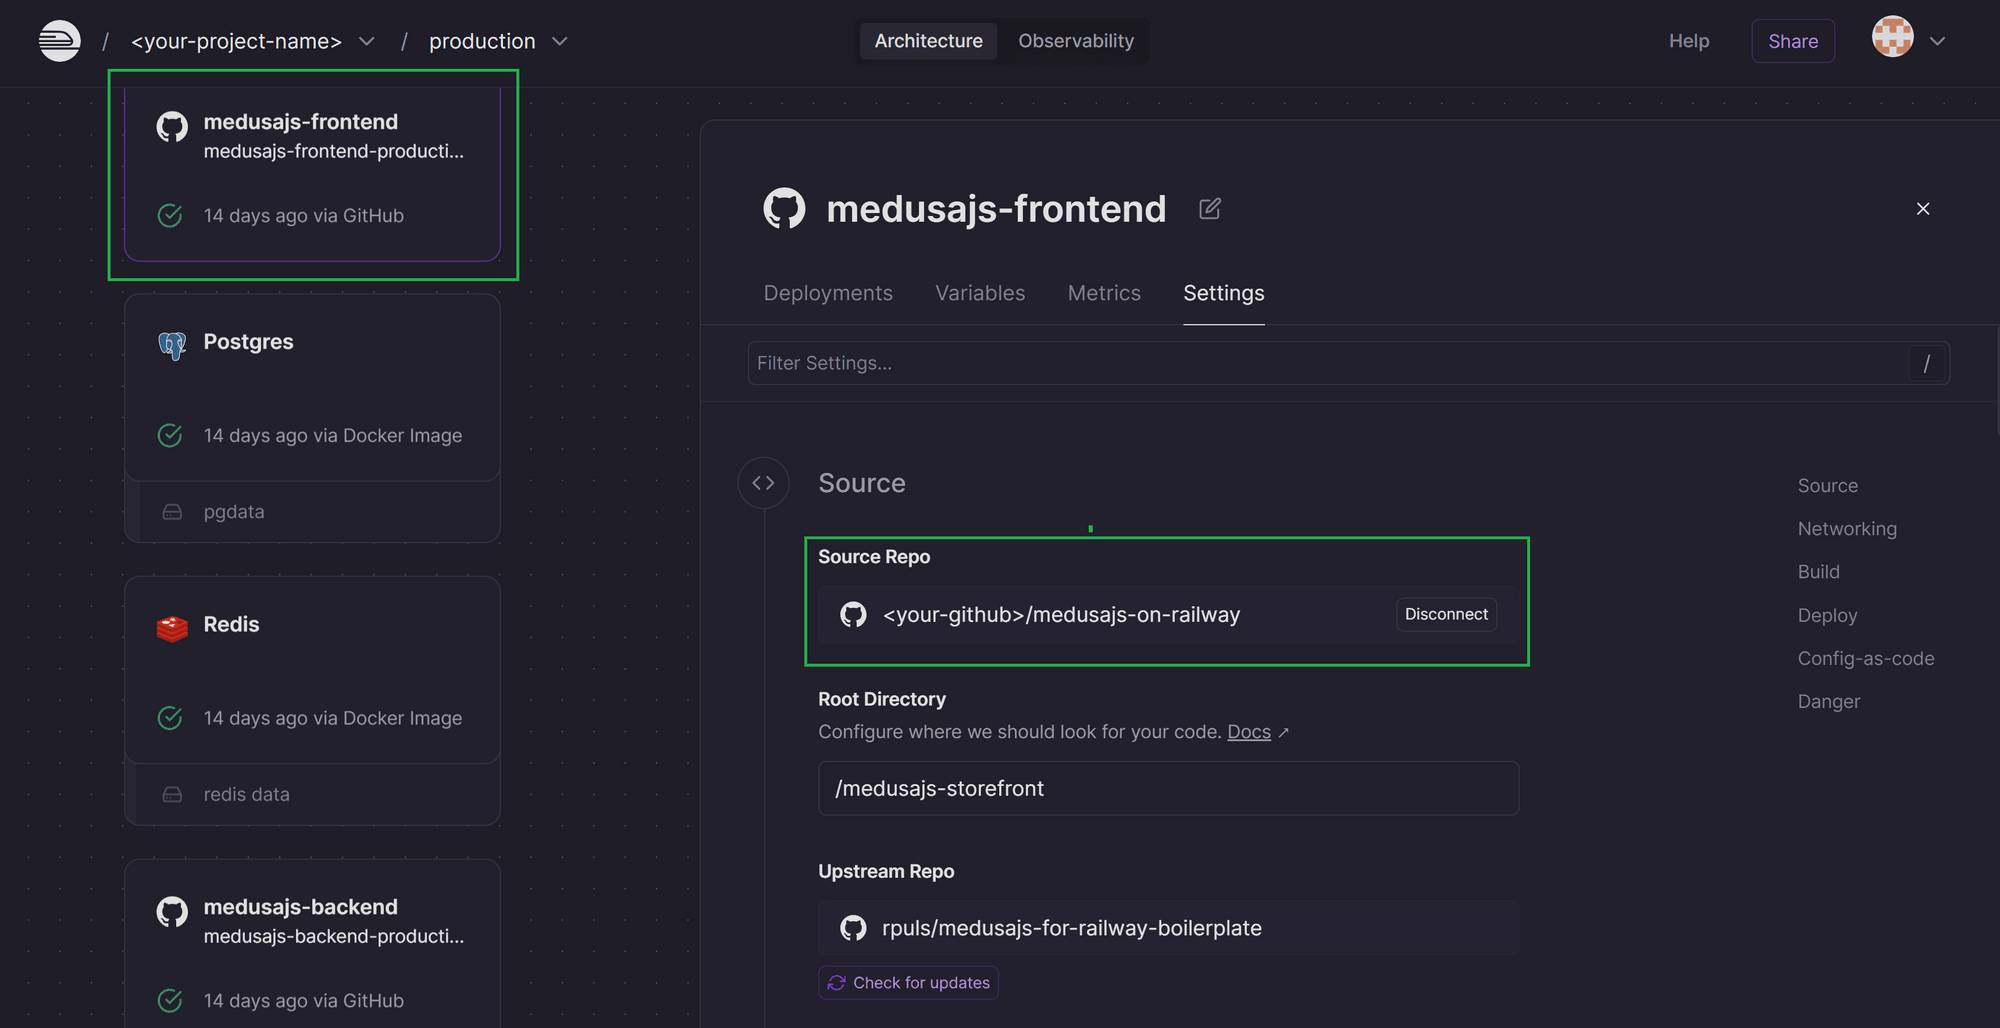
If you get a 404 from GitHub, this is most likely because you are not logged in and you set the repository to be private during the creation. Login and try again.
Locate your repository URL can copy it.

Open your preferred terminal or command prompt. Navigate to the directory where you want to clone the repository using the cd command. For example, if you want to clone the repository into a folder named "MyProject" on your desktop, you would use:
cd Documents/MyProject
Next, use the Git command to clone the repository:
git clone <paste repository URL form clipboard>
Step 2: Open the project in Visual Studio Code
Once the repository is cloned, you can open it in Visual Studio Code. Start VS Code and go to File > Open Folder.... Navigate to the folder where you cloned the repository, select it, and click Open.
Step 3: Make changes to your project
With the project open in VS Code, you can now make changes to the code. Navigate through the project files in the sidebar, open the files you need to edit, and make your changes.
Step 4: Commit your changes
After making changes, you need to commit them to your local Git repository. First, open the integrated terminal in VS Code by selecting Terminal > New Terminal from the top menu. In the terminal, add all changed files to the staging area using:
git add .
Then, commit the changes with a message describing what you have done:
git commit -m "Describe your changes here"
Step 5: Push changes to GitHub
To push your changes to GitHub and trigger the build pipeline, use the following command in the terminal:
git push origin main
Assuming you are working on the main branch, this command will upload your changes to GitHub, updating your repository.
Once your changes are pushed to GitHub, the automated build pipeline associated with your repository should start automatically. You can monitor the progress and outcome of the build by going to your Railway dahsboard. The storefront service should be marked with "building"
When you get a green checkmark on your fronent service your change is live! 🥳